DIY Camera Poncho (Rain Cover)
I don't know how many times I can annoyingly remind you that I'm heading to Iceland in less than a month, but I'm doing it again. The main point I've read again and again regarding Iceland's weather is that it's completely unpredictable. I've also read that the locals say that if you don't like the weather, you can just wait fifteen minutes.
Because there is a v. good chance that we'll be caught in some sort of precipitation (likely rain in early November, there is a potential for snow but v. unlikely), I thought I should buy some sort of weather protection for my camera. I was browsing on Amazon but everything looked kind of crappy, reviews in general weren't that stellar, and I didn't want to pay for something that looked crappy with bad reviews. Since the rain covers just looked like plastic bags anyway, I decided to make my own.
I was inspired by the rain covers that had openings for your hands too, so I decided to go beyond the dozens of tutorials out there that just require a singular hole in the bag.
 You'll need:
1 x one gallon ziptop bag
2 x sandwich or one quart ziptop bags
scissors
packing tape
sharpie
+ lens hood
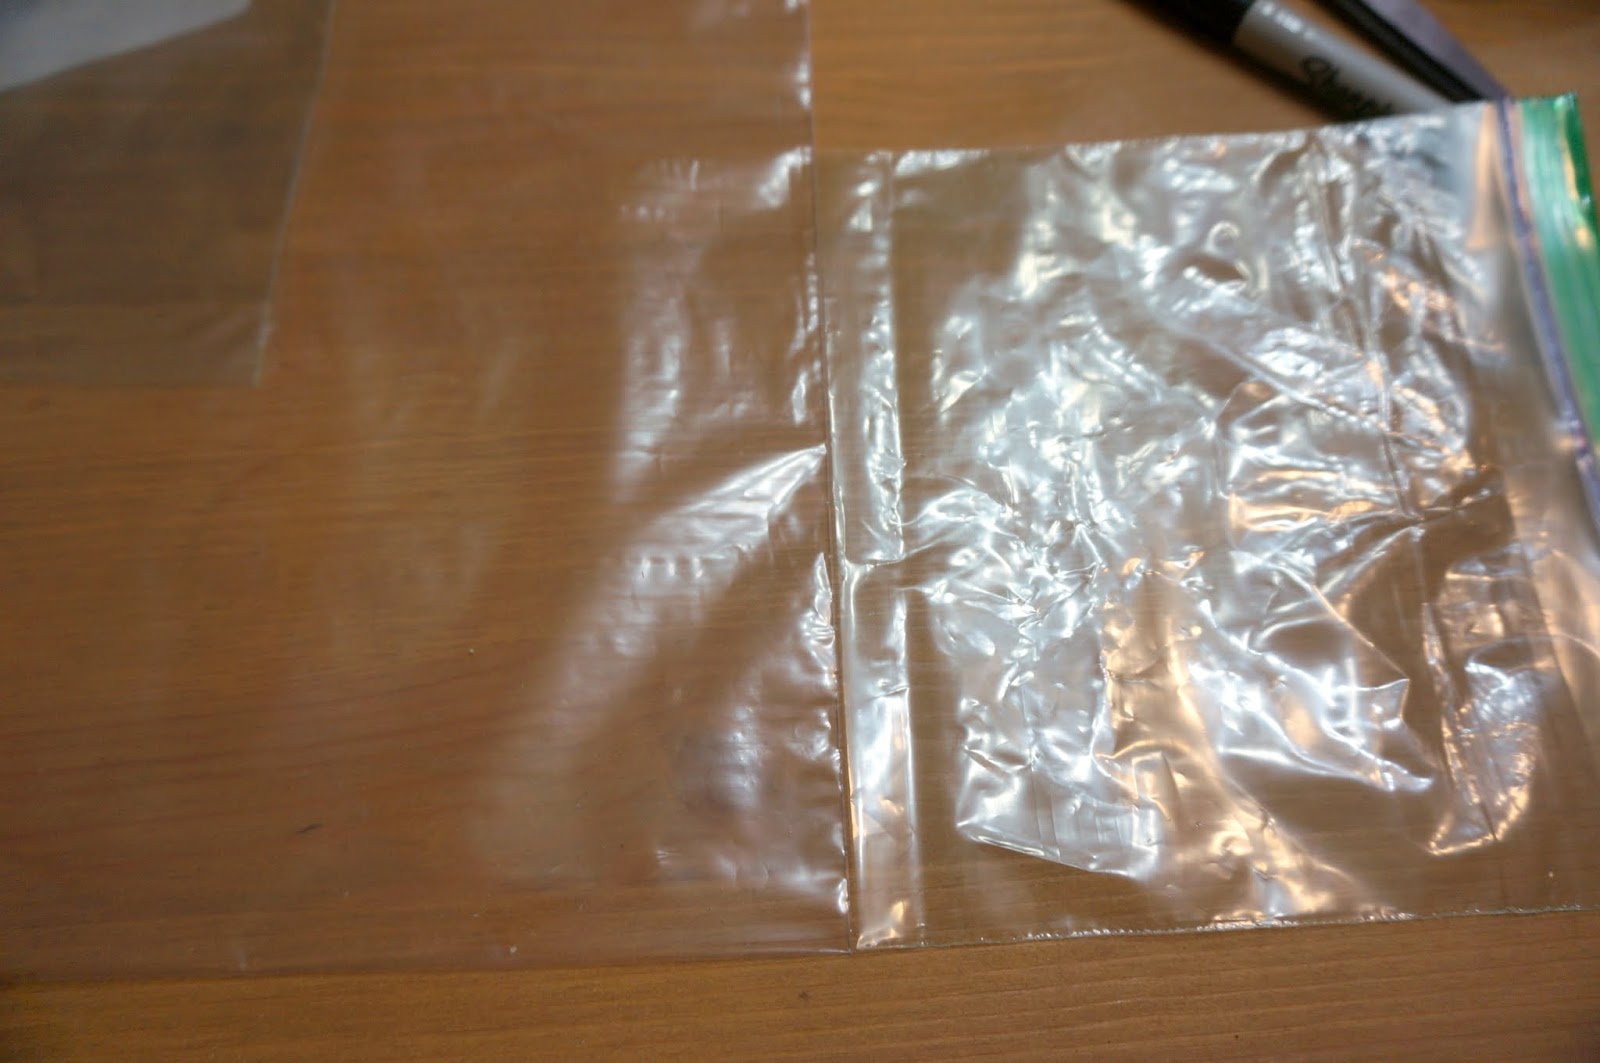
 Basically, the poncho will resemble a t-shirt, except the head hole is in the chest of the shirt, if that makes sense. So, start by lining up the smaller ziptop bag on either side of the larger ziptop bag (aligning the smaller bags with the bottom of the larger bag) and marking off the length.

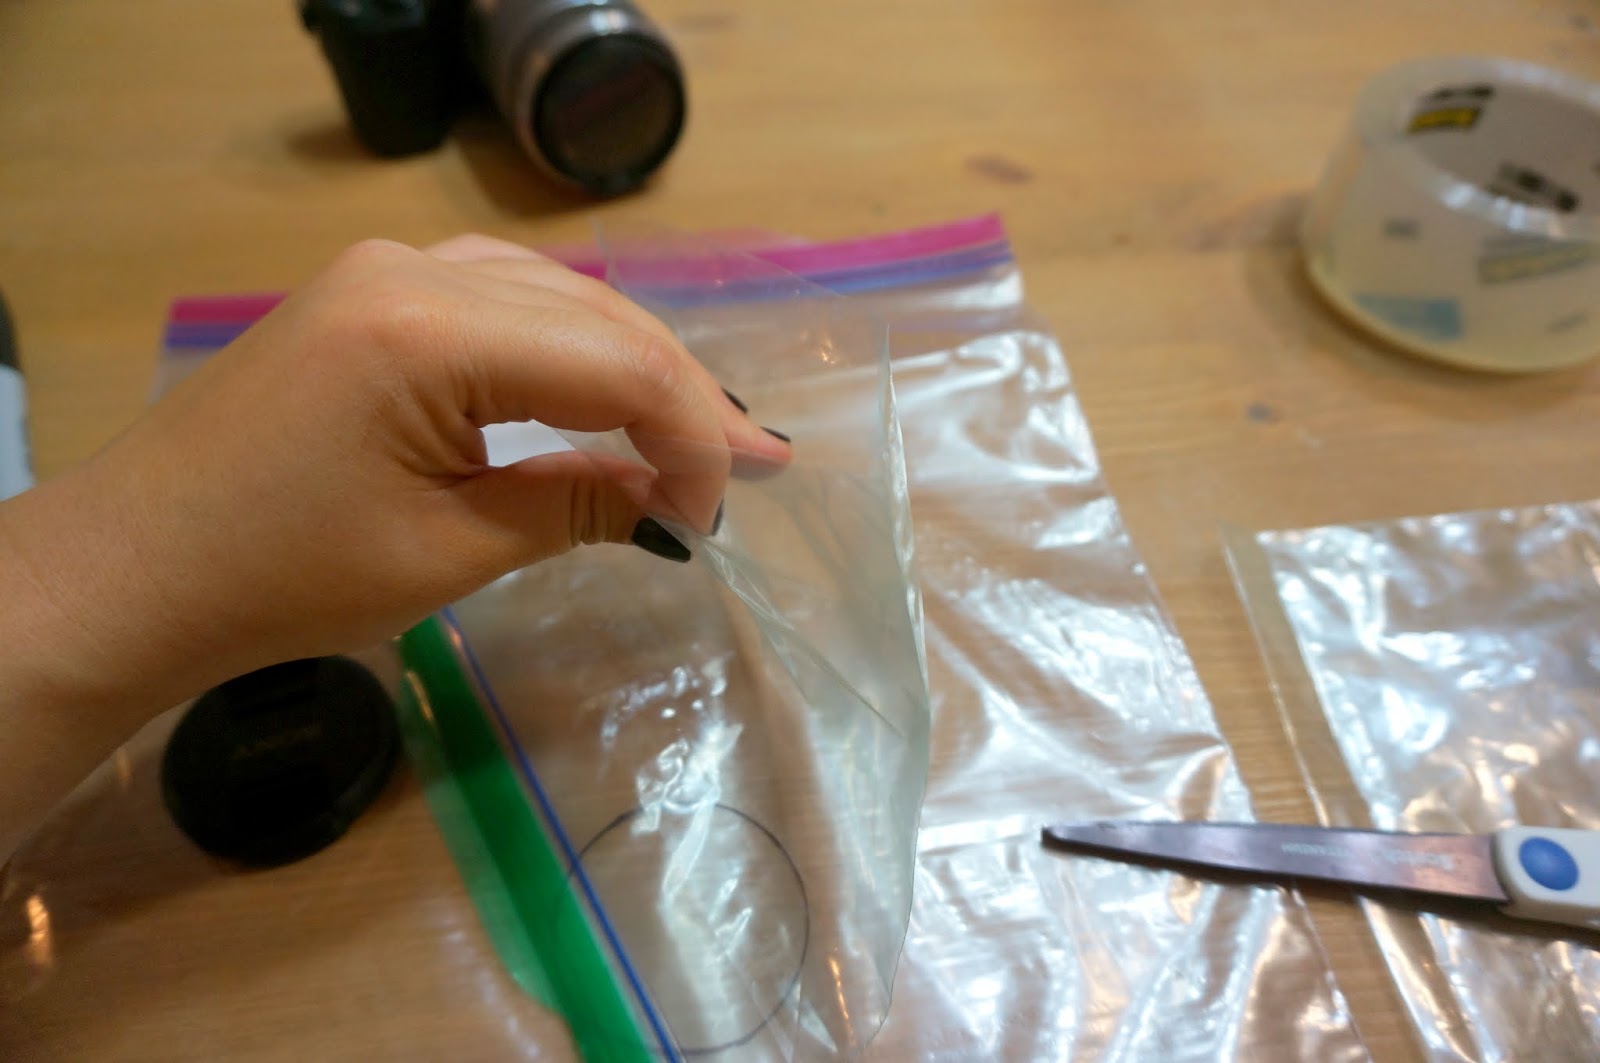
 Grab your lens cap and trace it onto the larger ziptop bag. I traced mine a few inches off the bottom and centered it. I wanted to leave enough room so that if I was using a longer lens, there would be enough room to fit the poncho over it without making it asymmetrical.
 Now it's time to cut. Cut the traced hole out of the larger ziptop bag and then cut along the sides, just to the line you marked off earlier (which should equal the length of the bottom of the smaller bags; make sense?). Cut the bottoms off of the smaller bags. I actually just cut the smallest bit of the bottom off, opened up the bag, and then cut along the bottom edge.


 Make sure your camera fits nicely in the hole and secure it with the lens hood. The hood should help minimize rain droplets splashing onto the lens.

 Next, tape the smaller ziptop bags to the larger ziptop bag after lining up the openings. I used clear packing tape, which is sturdy and difficult to rip. And just to reinforce it, I turned the whole thing inside out and taped up the inside as well.

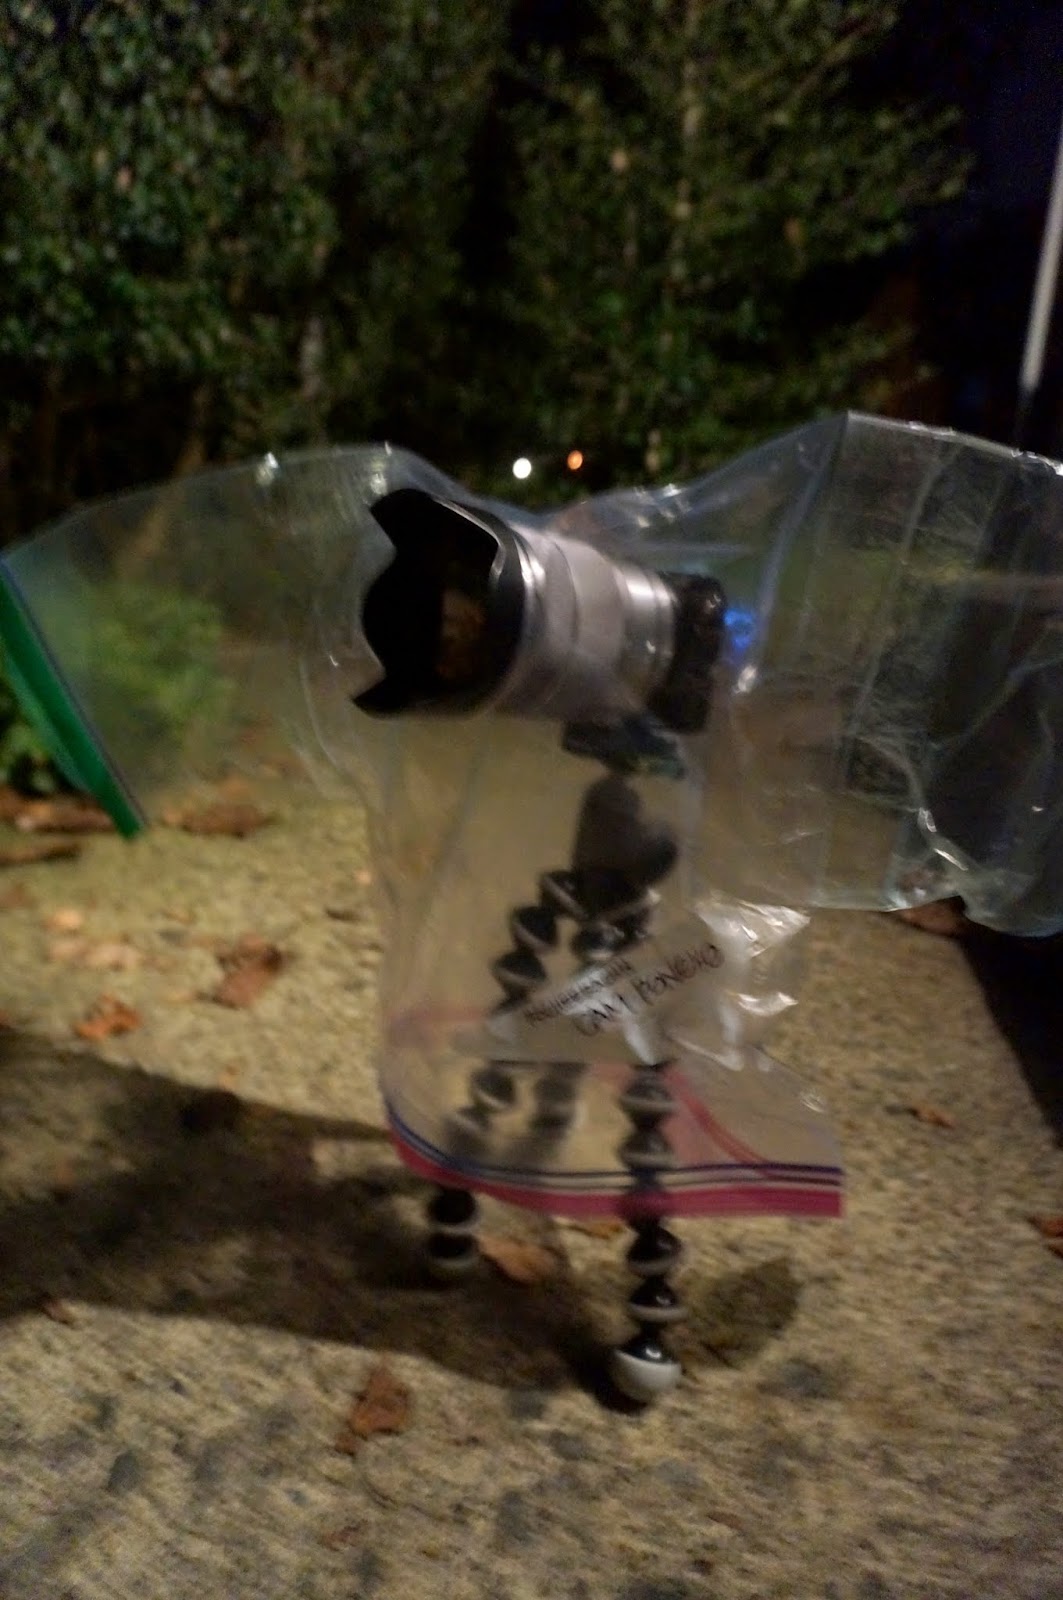
 See? You're basically left with a t-shirt that looks like it was meant for Quasimodo or something because of the weird hole placement.
 Slip your camera in and give it a whirl.
 I like this concept because it gives you the ability to put both hands in to control the camera easily. If you use the single bag method, then you have to cram your hands up the bottom, which isn't nearly as comfortable.
 And of course, they're totally portable and packable. I rolled mine up and secured it with a rubber band.
 I wish it had been raining so I could show this to you in action (but I may have the opportunity to do that in Iceland, at which point, I will do my best to remember to edit this post.
I love this DIY because it's so easy and cheap. If you buy a rain cover, it's around $10 to $15 for a set of two. My set of two probably comes in at less than $1. And sure I had to make it myself, but I didn't have to wait for shipping. And if it breaks, I can easily make another one.
 If you wanted to maybe set up a time lapse in inclement weather you can always seal up the "sleeves" to prevent rain from creeping in through the sides. And, when you're done shooting but you don't want to remove the camera from the poncho, you can also seal up the bottom; easy.


 xoxo.
xoxo.
Because there is a v. good chance that we'll be caught in some sort of precipitation (likely rain in early November, there is a potential for snow but v. unlikely), I thought I should buy some sort of weather protection for my camera. I was browsing on Amazon but everything looked kind of crappy, reviews in general weren't that stellar, and I didn't want to pay for something that looked crappy with bad reviews. Since the rain covers just looked like plastic bags anyway, I decided to make my own.
I was inspired by the rain covers that had openings for your hands too, so I decided to go beyond the dozens of tutorials out there that just require a singular hole in the bag.

1 x one gallon ziptop bag
2 x sandwich or one quart ziptop bags
scissors
packing tape
sharpie
+ lens hood


I love this DIY because it's so easy and cheap. If you buy a rain cover, it's around $10 to $15 for a set of two. My set of two probably comes in at less than $1. And sure I had to make it myself, but I didn't have to wait for shipping. And if it breaks, I can easily make another one.


simple and functional, thank you for sharing! <3
ReplyDeleteMy pleasure!
Delete