DIY Garden Markers 2014
I'm interrupting my series of DC posts to bring you this year's garden markers. We planted our garden this past weekend and I've made some homemade garden markers, yet again. Last year, I made a sort of fancier marker with the veggies and fruits painted right on the sign but this year, I went for something much simpler and I love it.
 You'll need:
wooden ovals ($0.29 each at Michaels)
flat wooden dowels (you need around 2" for each sign)
acrylic paint & brushes
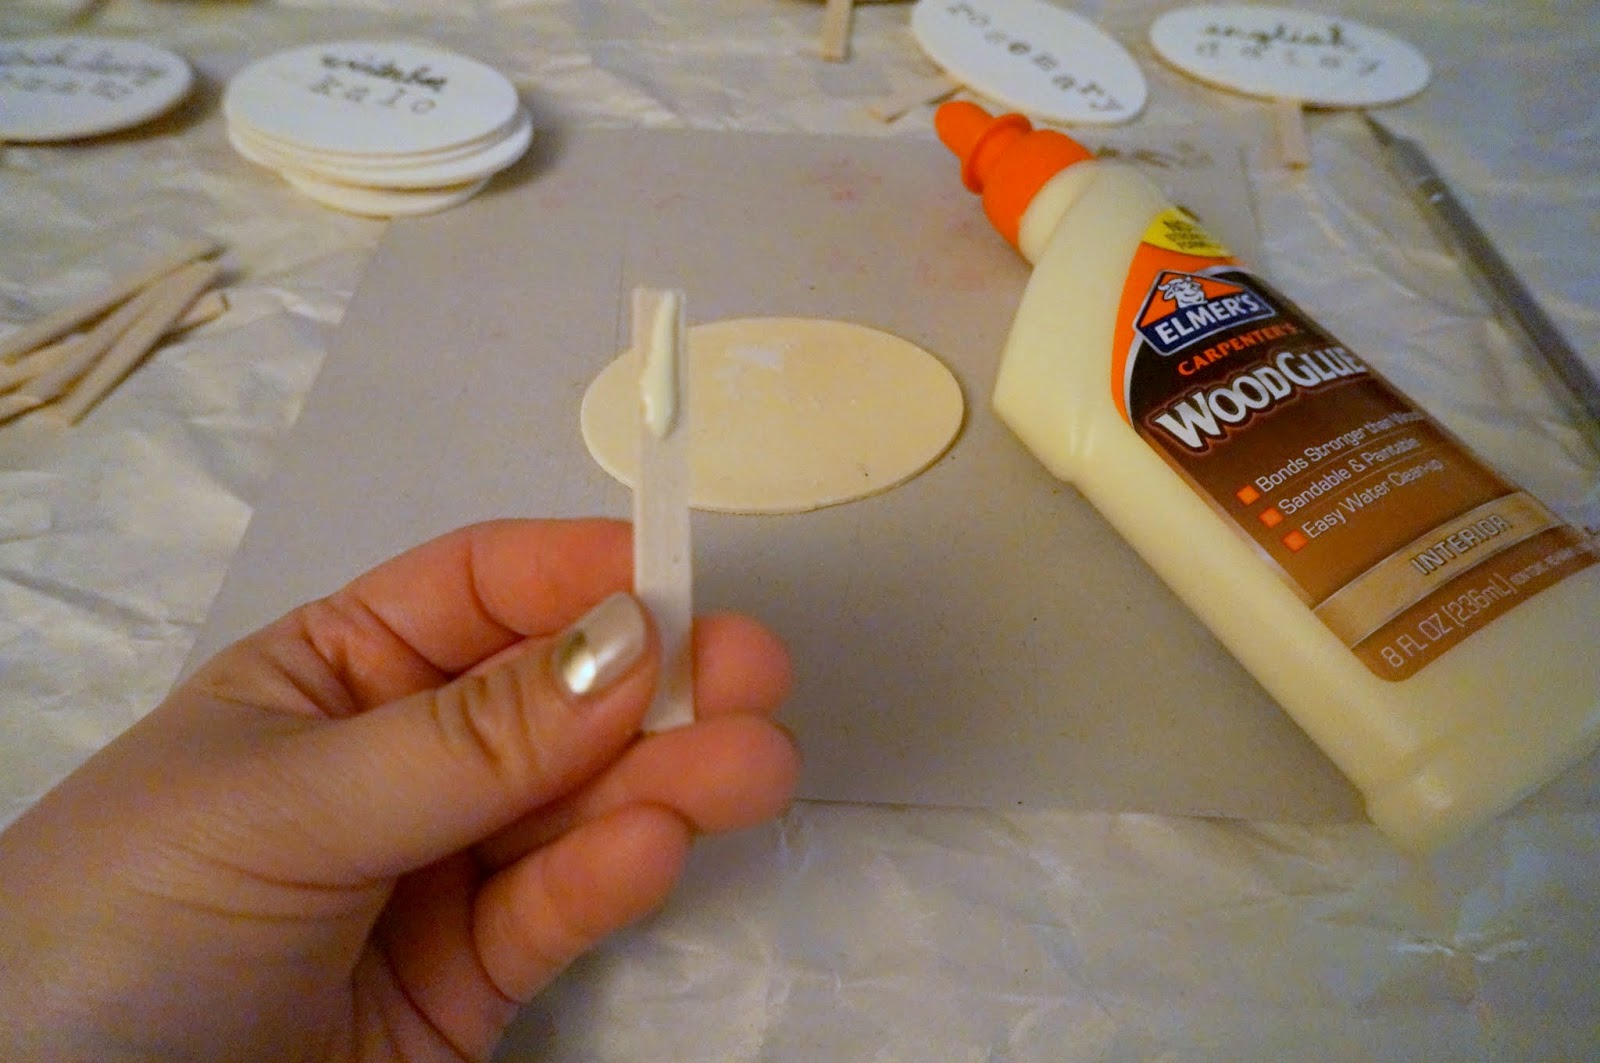
wood glue
clear sealing spray
stamps (optional)
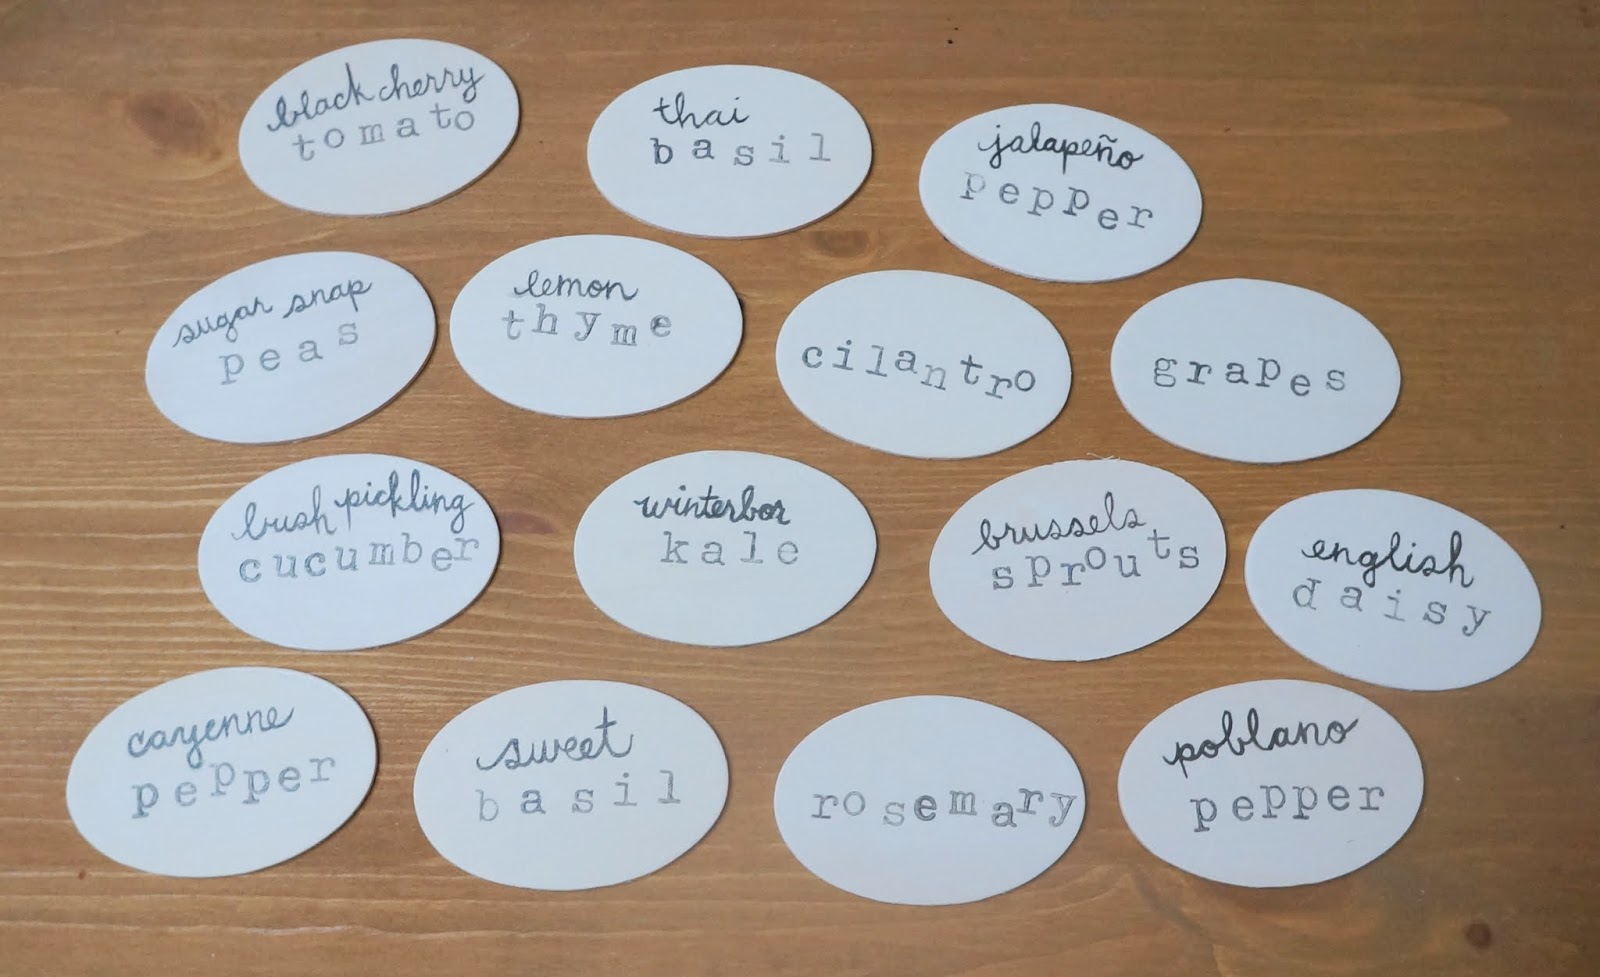
 Start by painting the wooden ovals with a base color. I just went for a simple white but you could use black or a color. I think next year, I might try gold or silver. Let the paint dry for a few minutes.

 Use stamps and a paintbrush to print letters onto the ovals. I went for a combination of freehand writing and stamping. If you don't have stamps, you can just freehand everything. Might I suggest you use two different "fonts" for some visual interest? Leave the signs to dry for a few minutes.

 Cut the dowel into 2" pieces and glue them to the backs of the signs with a dab of wood glue. Last year I used hot glue but a few of the signs fell off of their posts after a month; I mean, not all of them fell off so maybe it was bad technique on a few but still. I'll report back how the wood glue fared (probably next year). Once the glue is dry, spray the markers with a little clear acrylic spray on both sides. This is an important step; the spray will weatherproof the markers so they can last the entire gardening season. Let the spray dry for at least 24 hours so that the chemically fumes will dissipate and won't "infect" your plants.

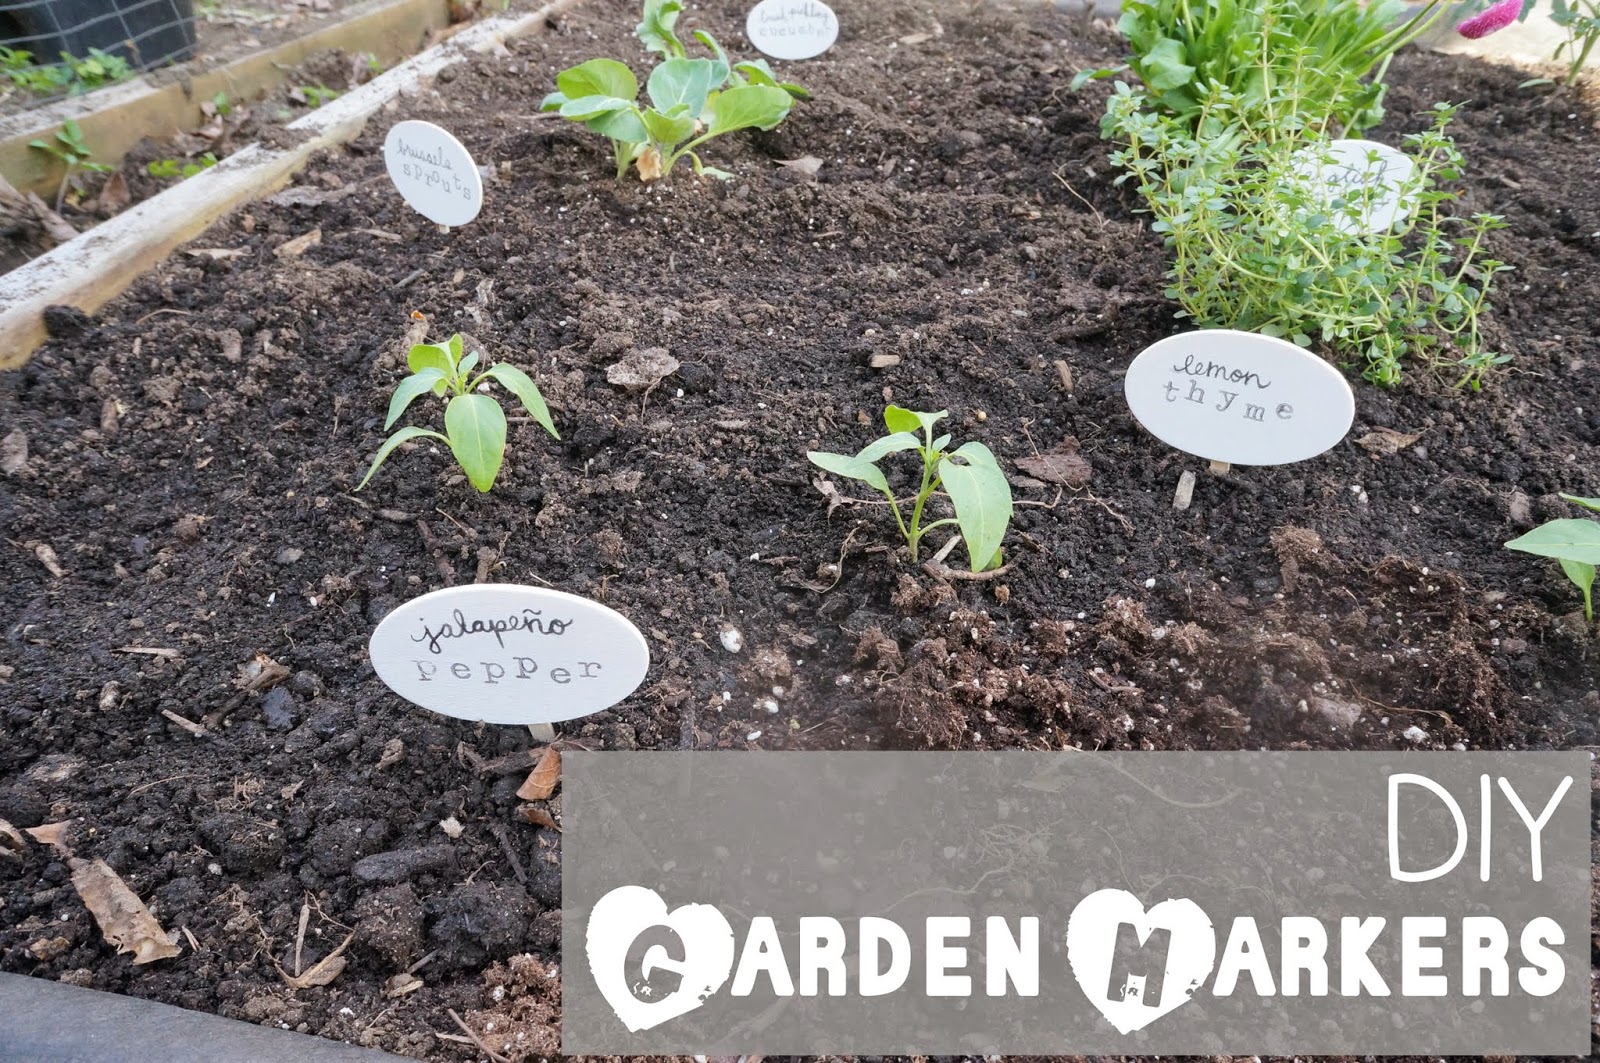
 Then, all that's left to do is stick the markers into your plants. I had a few extra markers so I stuck them into my indoor herb plants too.
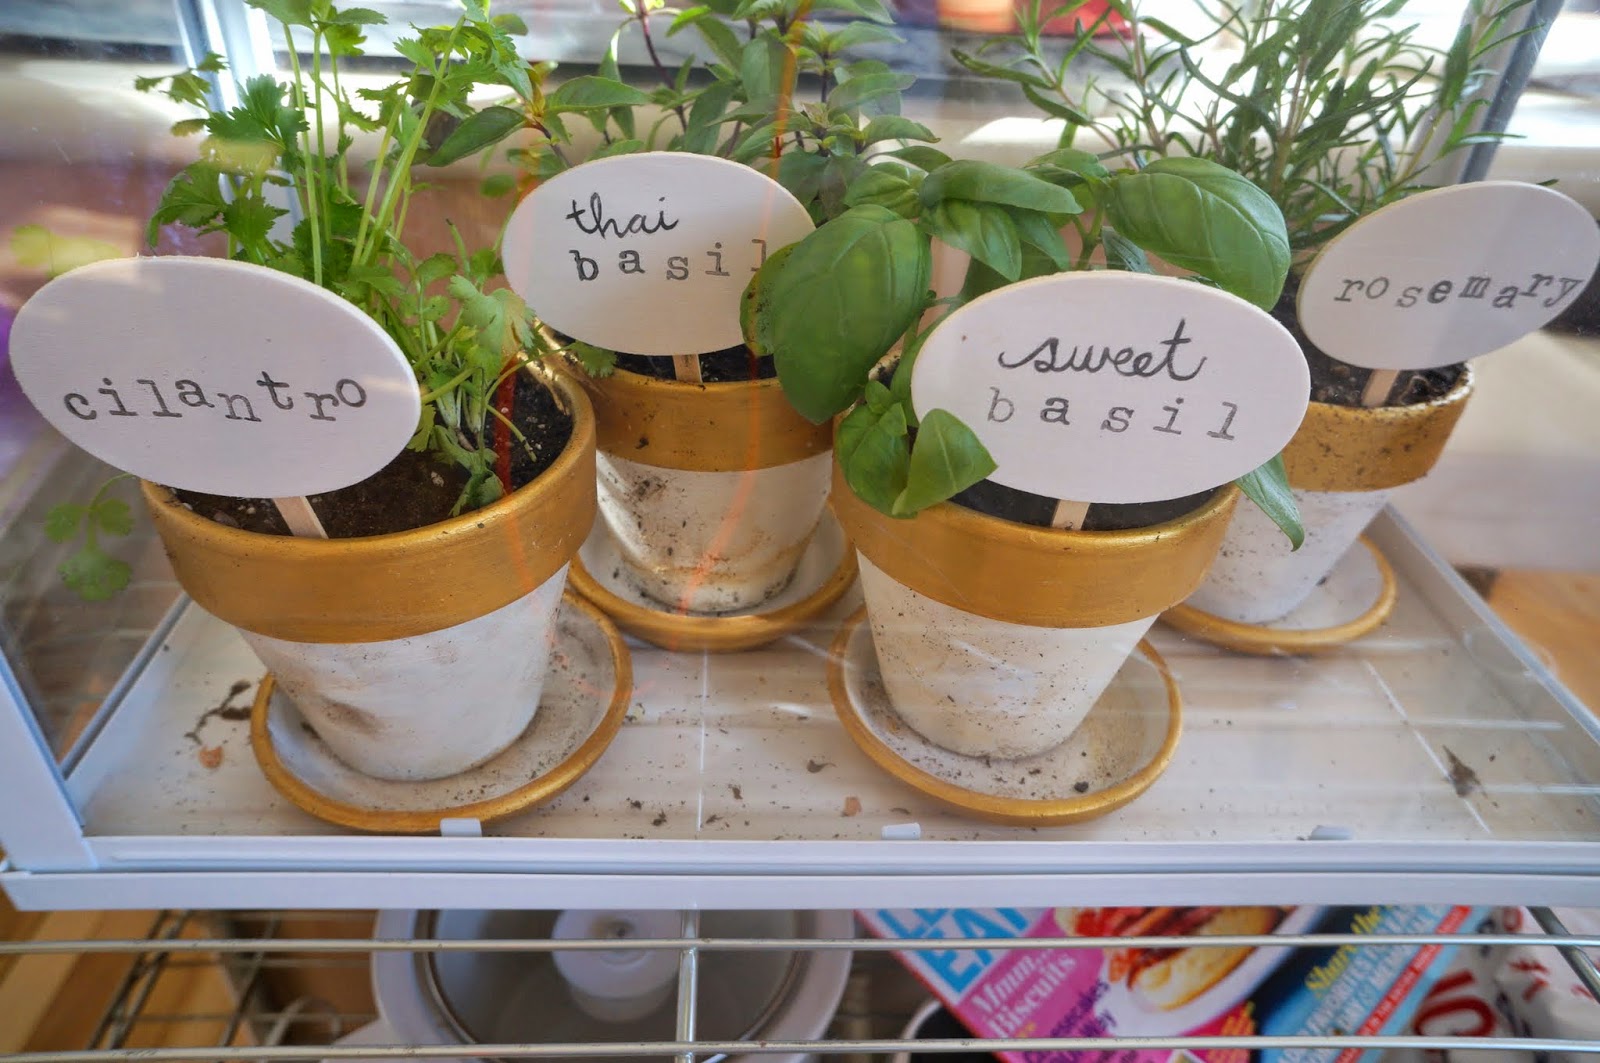

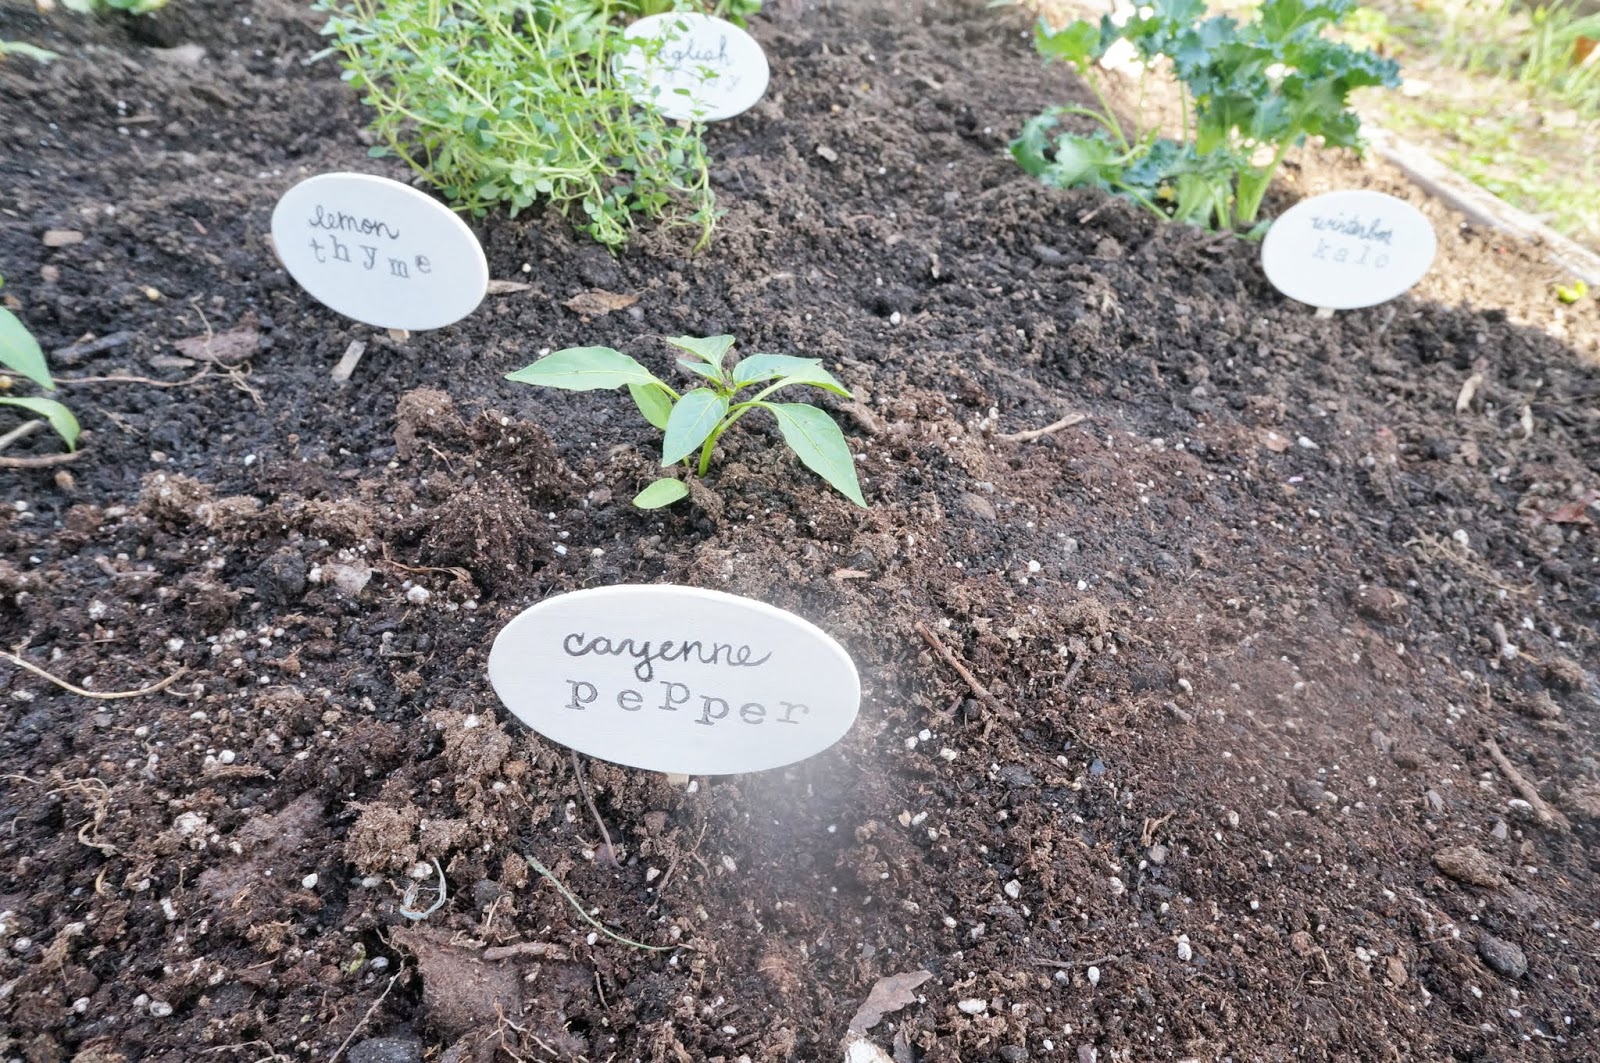 They look pretty cute, right?


wooden ovals ($0.29 each at Michaels)
flat wooden dowels (you need around 2" for each sign)
acrylic paint & brushes
wood glue
clear sealing spray
stamps (optional)
Ugh, can you see the little shmutz that was on my lens? I took photos for two days before noticing! I'm a horrible photog.
Cheers!
Cheers!
Comments
Post a Comment