DIY Garden Markers
I haven't tackled a big and fun DIY project in a while. Half of it was laziness and the other half was a lack of inspiration. However, since the weather had finally warmed up enough for me to feel comfortable to start my garden, I finally got some motivation. I decided to DIY some garden markers. I wanted them to be functional and durable but still look cute. Let me show you what I came up with:
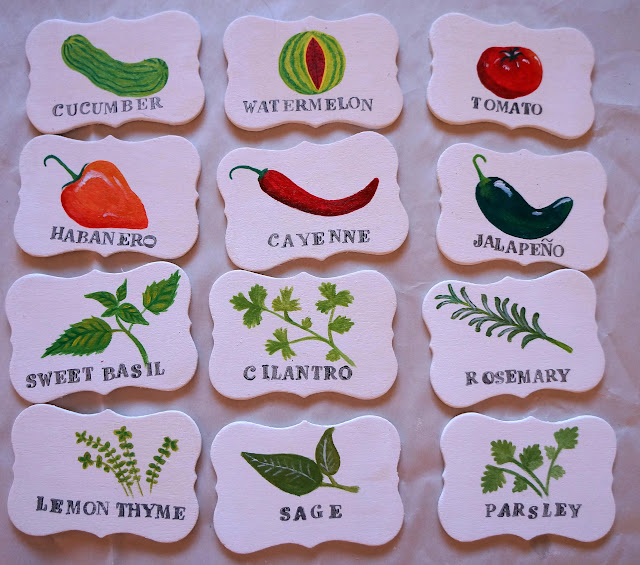 Want to make these too?
Here's what you'll need:
little wooden signs (I got mine from Michaels for $0.29 each)
wooden sticks - I bought a square dowel from Michaels ($0.35 each), popsicle sticks would also work
acrylic paint
paintbrushes in varying sizes + a foam brush for laying the base color
water and a paper towel (to rinse and dry off the brush in between colors)
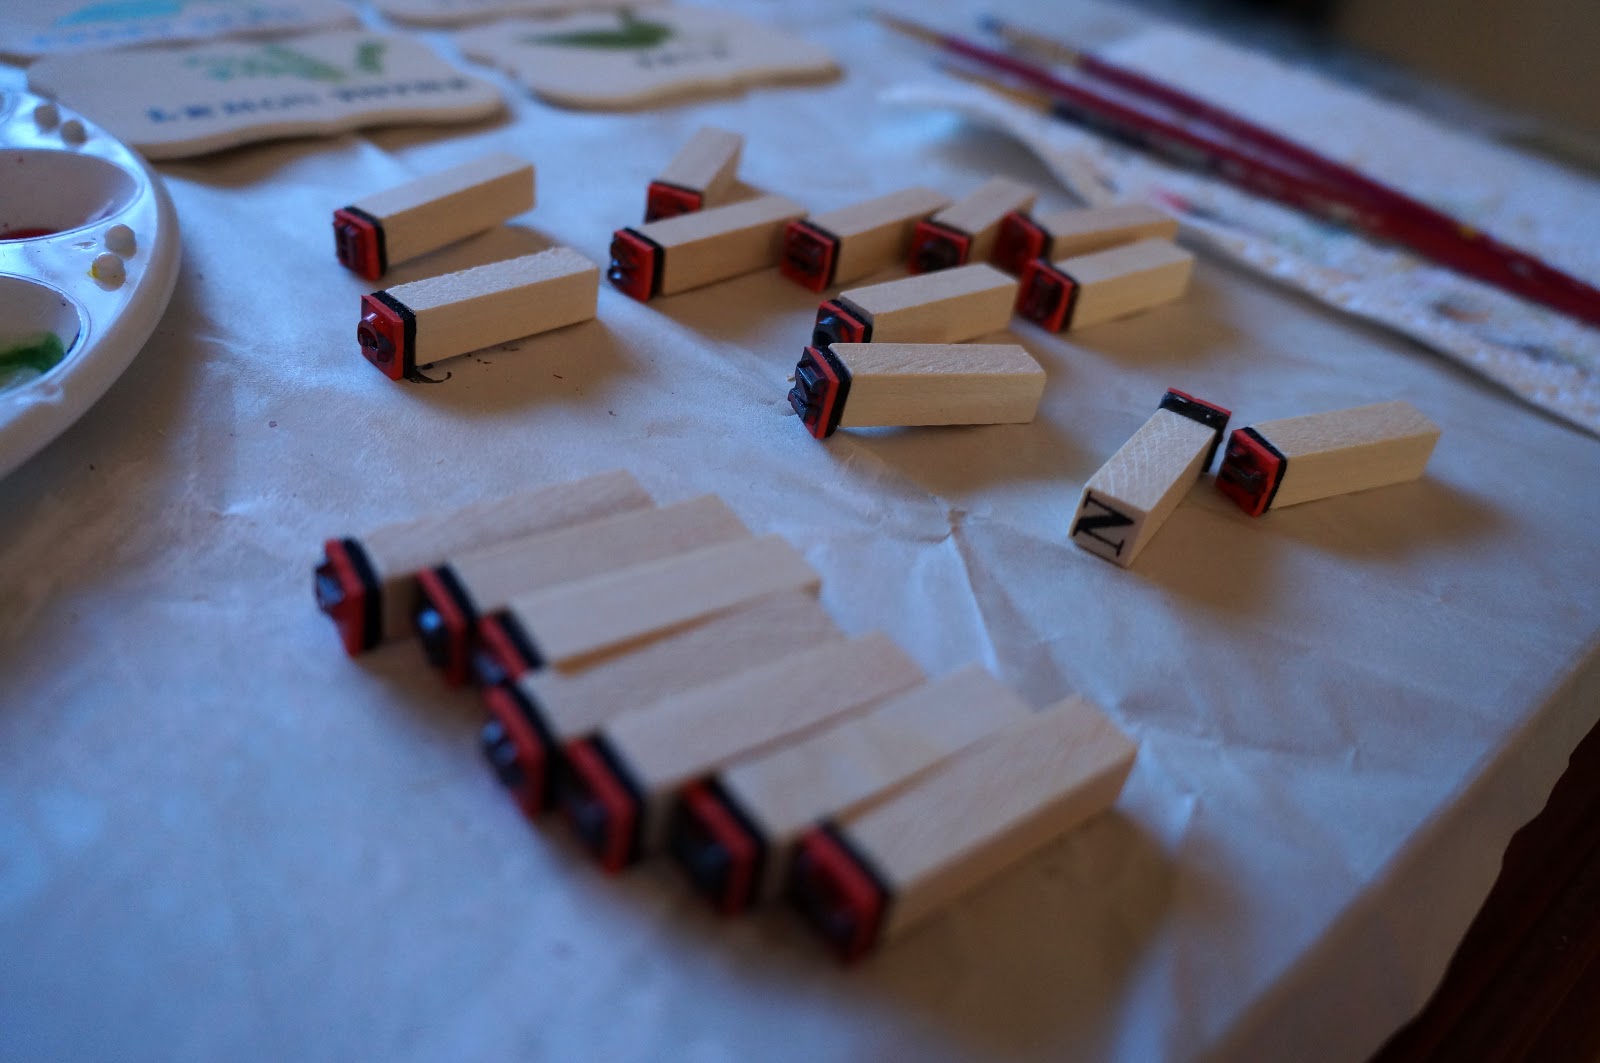
letter stamps (completely optional)
hot glue or wood glue
clear acrylic spray coating (UV resistant)
 I started by painting a base coat of paint on the wooden signs. I used white but any pale color would've be nice (like pale yellow or pale green). I like using a foam brush because it paints nice and evenly without leaving any brush strokes. The base color serves two purposes: it seals in the wood and adds to the waterproof factor (which will prevent the wood from rotting) and it provides a clean smooth surface for painting the veggies and letters on without the paint bleeding into the grain of the wood.
 I painted all of the signs at once and then left them to dry for about 20 minutes.
 While I waited, I watched one of my favorite movies:
 And snacked on some chips and guacamole... (the chips are sweet potato tortilla chips - they're really yummy)
 GM was so tired watching me paint that he decided to take a nap.
 Once the little signs were dry, I squirted a bit of paint onto my palette and started mixing a few colors to start the fun part.


And then I started painting. I began with a cucumber. I considered using a pencil and making v. precise images but then I decided that a little imperfection would add to the character of the markers.
 And then, I used a little black paint and stamped letters onto the marker. I loved the way the stamped letters looked. I first planned on handwriting the words but I found these adorable stamps at Target for $1 so I grabbed them and took a chance.

 And then I kept painting the other veggies/fruits/herbs and whatever else I was planting.
Watermelon:
 Tomato:
 Jalapeño peppers:

Habanero peppers (by the way, can you see that I mistakenly stamped the 'O' on sideways? I panicked for a second and then fell in love with the way it looked. Again, the imperfections add to the character of the markers):
 Cayenne peppers:
 Lemon thyme:
 Sweet basil:


Cilantro:
 Rosemary:
 Sage:
Sage:
 Parsley:
 Finished painting! Don't they look great?
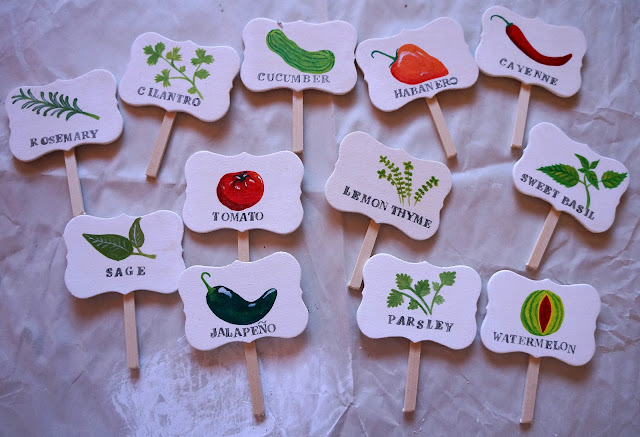
 Next, I glued the sticks onto the backs of the markers. I cut up my dowel into 3.5" lengths and stuck them down with a bit of hot glue. I chose hot glue instead of wood glue just because I knew it would dry a bit quicker.
 Once all of the sticks were glued to the signs, I took them outside and gave them a generous spray of some UV-resistant clear acrylic coating on both sides. This step is quite important because it seals the markers to make them waterproof and prevent the paint from fading. That's why I chose a UV resistant spray.
 And that's all there is to it! You can pop on over to my food blog if you want to see these being put to use in my garden.
Cheers!

Here's what you'll need:
little wooden signs (I got mine from Michaels for $0.29 each)
wooden sticks - I bought a square dowel from Michaels ($0.35 each), popsicle sticks would also work
acrylic paint
paintbrushes in varying sizes + a foam brush for laying the base color
water and a paper towel (to rinse and dry off the brush in between colors)
letter stamps (completely optional)
hot glue or wood glue
clear acrylic spray coating (UV resistant)


And I got my stamps ready.

And then I started painting. I began with a cucumber. I considered using a pencil and making v. precise images but then I decided that a little imperfection would add to the character of the markers.


Watermelon:


Habanero peppers (by the way, can you see that I mistakenly stamped the 'O' on sideways? I panicked for a second and then fell in love with the way it looked. Again, the imperfections add to the character of the markers):


Cheers!
Comments
Post a Comment