DIY Camera Strap
Happy Memorial Day!
I've been on a bit of a DIY kick lately, if you couldn't tell. This is what happens to me: I get really excited and inspired and motivated in spurts. So obviously, as the title states, today I'm sharing a camera strap DIY. I was thinking about buying a new strap (because I'm just using the ugly default one that came in my camera kit) but I couldn't find exactly what I was looking for. I wanted a skinny strap in a bright color with easy clasps for attaching and detaching. The only solution in these situations is to just make one myself.
I wanted it to be affordable (re: cheap) but pretty and of course, functional. My first idea was to buy some scrap leather but then I thought, hey, why not just go to Forever 21 or Target (or a similar store) and buy a cheap belt and use that... so I did.
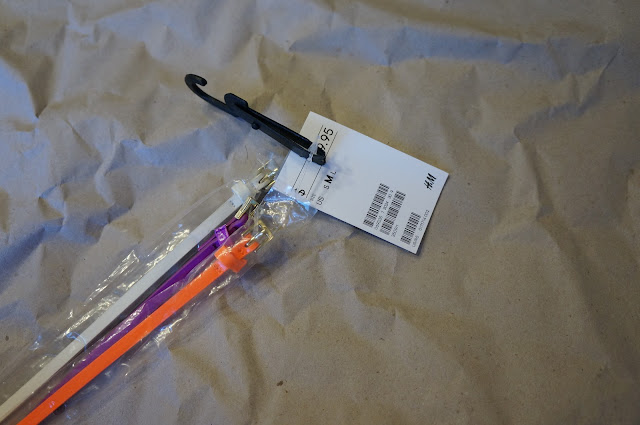
I found this set of three skinny belts from H&M for only $9.95 - which means each belt is less than $3.32; pretty good, right? I really wanted a fluoro orange strap so I picked this trio.
 Supplies:
belt
2 large lobster clasps
2 large jump rings OR split rings OR D rings
needle & thread (sturdy thread)
big safety pin or awl
crazy glue
scissors
studs
 I started by snipping off the buckle end of the belt. Then, I bent the ends, about 3/4" and made sure the bend was big enough for my split rings.
 Then, I attached my split rings to my lobster clasps. If you're using a jump ring and/or a D-ring, you'll probably have to use some pliers to open them up.
 Then, I used my giant safety pin to poke a hole through the ends of the belt. This was just to make it easier to sew through the thick faux leather. I made sure to poke two holes, one at the end, and one where the folded bit matched up to the rest of the belt.
 The next step was to start sewing. I strung the split ring and lobster clasp on the end and then looped the thread through my pre-made holes once. Then I used a bit of crazy glue to make sure that the ends would definitely stay secure. Then, I kept sewing, I looped in and out a bunch of times and then made a knot and trimmed off the excess thread. And of course, for some more added insurance, I dabbed a bit of crazy glue on the trimmed thread.
 Then, I repeated on the other end.

And just to cover up the belt holes, I used some studs. The studs I used are actually stickers but of course, I needed to use crazy glue to secure them because I like to know that things will really stay put.
 I thought the studs added some character.
 Here's a little before and after comparison:
 And here are some more shots of my new strap:
 And here's the strap in action around my neck:
 Looks great wrapped around my wrist too:
 This strap cost around $7 to make. Not bad, huh?
And it would be easy enough to make a wrist strap for a point&shoot camera using the same supplies. The other two belts are sitting on my dresser, waiting to be put to good use so maybe that'll be my next project.
Hope this either entertained or inspired you.
Cheers!
I've been on a bit of a DIY kick lately, if you couldn't tell. This is what happens to me: I get really excited and inspired and motivated in spurts. So obviously, as the title states, today I'm sharing a camera strap DIY. I was thinking about buying a new strap (because I'm just using the ugly default one that came in my camera kit) but I couldn't find exactly what I was looking for. I wanted a skinny strap in a bright color with easy clasps for attaching and detaching. The only solution in these situations is to just make one myself.
I wanted it to be affordable (re: cheap) but pretty and of course, functional. My first idea was to buy some scrap leather but then I thought, hey, why not just go to Forever 21 or Target (or a similar store) and buy a cheap belt and use that... so I did.
I found this set of three skinny belts from H&M for only $9.95 - which means each belt is less than $3.32; pretty good, right? I really wanted a fluoro orange strap so I picked this trio.

belt
2 large lobster clasps
2 large jump rings OR split rings OR D rings
needle & thread (sturdy thread)
big safety pin or awl
crazy glue
scissors
studs


And it would be easy enough to make a wrist strap for a point&shoot camera using the same supplies. The other two belts are sitting on my dresser, waiting to be put to good use so maybe that'll be my next project.
Hope this either entertained or inspired you.
Cheers!
Comments
Post a Comment